
Tonight I tried making my very first chocolate mug cake from the recipe I shared in my previous post. I followed the instructions as written, but quickly learned that my microwave — and maybe even my ingredients — have their own personalities.
That’s the fun part of small-batch baking: you get to experiment, adjust, and discover what works best in your kitchen.
Here’s how my first round went.
🍫 Mixing the Batter
Right away, I noticed something: the batter felt very thick.
Not just thick—almost stiff. I debated whether to thin it out, but I decided to stick with the recipe and see what happened. Mug cakes are supposed to be simple, after all… right?
Well, the thickness turned out to be clue number one that my measurements might need to be adjusted for my next attempt.
🍫 Time for the Microwave
I set the microwave for one minute, the standard starting point.
When the timer beeped, I opened the door hoping to see a nice rise… but the batter looked almost exactly the same as it did before cooking.
No lift.
No dome.
No sign that anything had risen at all.
So I gave it another 30 seconds.
No luck — just a very firm top.
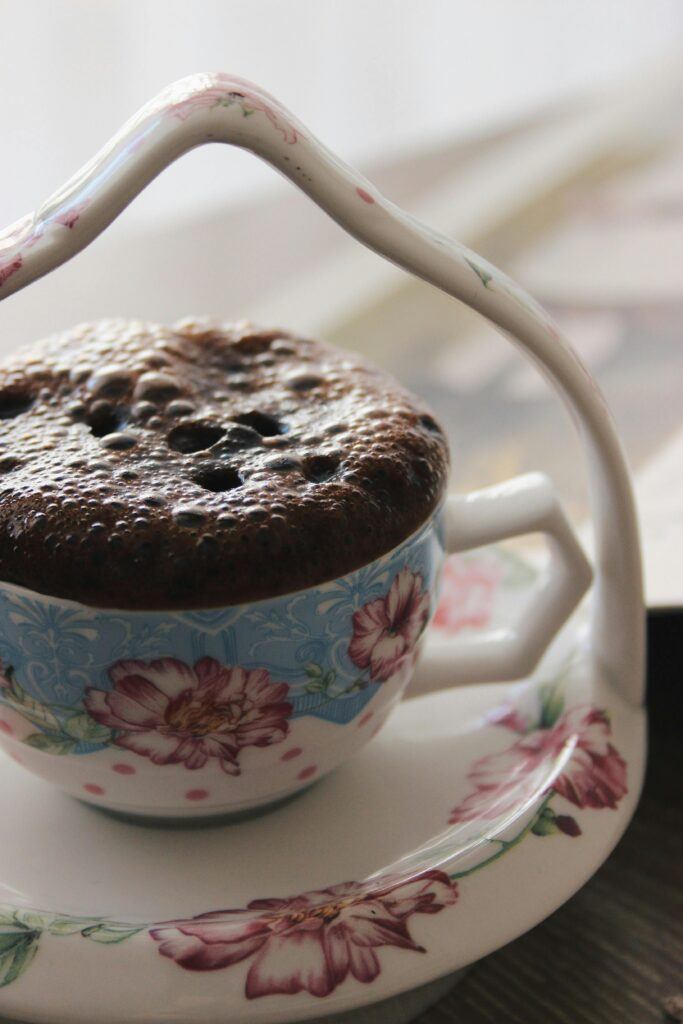
🍫 The Taste Test
Once it cooled a bit, I dug in. The very top layer stayed dense, almost fudge-like. But underneath, it actually had turned into cake — just a very crumbly one.
The flavor was great, but the texture? Definitely not what a mug cake should be.
This is when I realized:
Microwave desserts take a little trial and error, especially in small batches.
So here’s what I’m changing next time.
🍫 My Plan for Attempt #2
1. Add More Milk
To loosen the batter, I’ll add 2 tablespoons of milk instead of 1.
A mug cake batter should be thick but pourable — not stiff.
2. Increase the Baking Powder
To help the cake rise, I’ll bump the baking powder up to ¼ teaspoon instead of ⅛ teaspoon.
(And yes… I probably need to buy fresh baking powder, too!)
3. Shorten the Cook Time
I’m going to start with 45 seconds instead of a full minute.
Overcooking is one of the biggest causes of crumbly mug cakes, and microwaves heat much faster than we think.
4. Take Photos Next Time
I should’ve taken pictures along the way — the thick batter, the flat “cake,” the crumbly texture.
I’ll definitely document attempt #2.
I’m determined to get a soft, moist, beautifully risen chocolate mug cake. And I’ll share the results when I do!
Happy Baking!
❄️ FAQ: Troubleshooting My Mug Cake Attempt
1. Why didn’t my mug cake rise?
Two likely reasons:
- Not enough baking powder — increasing to ¼ tsp will help.
- Overmixing or overcooking — both can collapse the rise.
Also: old baking powder often loses its strength.
2. Why was my batter so thick?
Flour and cocoa absorb liquid differently depending on the brand and how they’re packed. If your batter feels like paste, add ½–1 tablespoon of extra milk.
Batter should be thick but not dry or dough-like.
3. Why did the cake turn out crumbly?
Most crumbly mug cakes are overcooked.
Microwaves heat fast and unevenly — 60 seconds in one microwave may equal 90 seconds in another.
Start lower: 45–50 seconds, then add 10-second bursts only if needed.
4. Should the top look fully dry when it’s done?
No — a mug cake is ready when the top is just barely set and still looks a tiny bit glossy. It will continue cooking as it rests for 1–2 minutes.
5. Does the mug size matter?
Yes!
A wide 10–12 oz mug works best. Tall, narrow mugs cause uneven rising and can make the cake dense.
6. Can I add more chocolate chips to fix the dryness?
Absolutely. Chocolate chips melt into little pockets of moisture and can help prevent a dry or crumbly texture.